Getting Started
This page uses JavaScript and npm. JavaScript is not necessary to use Interweave. See the build page for more information.
Installation
Step 1: Create A Project
From the Interweave dashboard, click the "Create Project" button. A project will have a collection of different interfaces. Usually one project per API is best.
You'll need the project ID to send your interfaces to. It'll look like this: e1ec5d64-2690-4a5c-93e6-a327744406ac.
While here, generate an API token too. You'll need it later.
Step 2: Install Helper Package
npm install @interweave/interweaveStep 3: Write Configuration
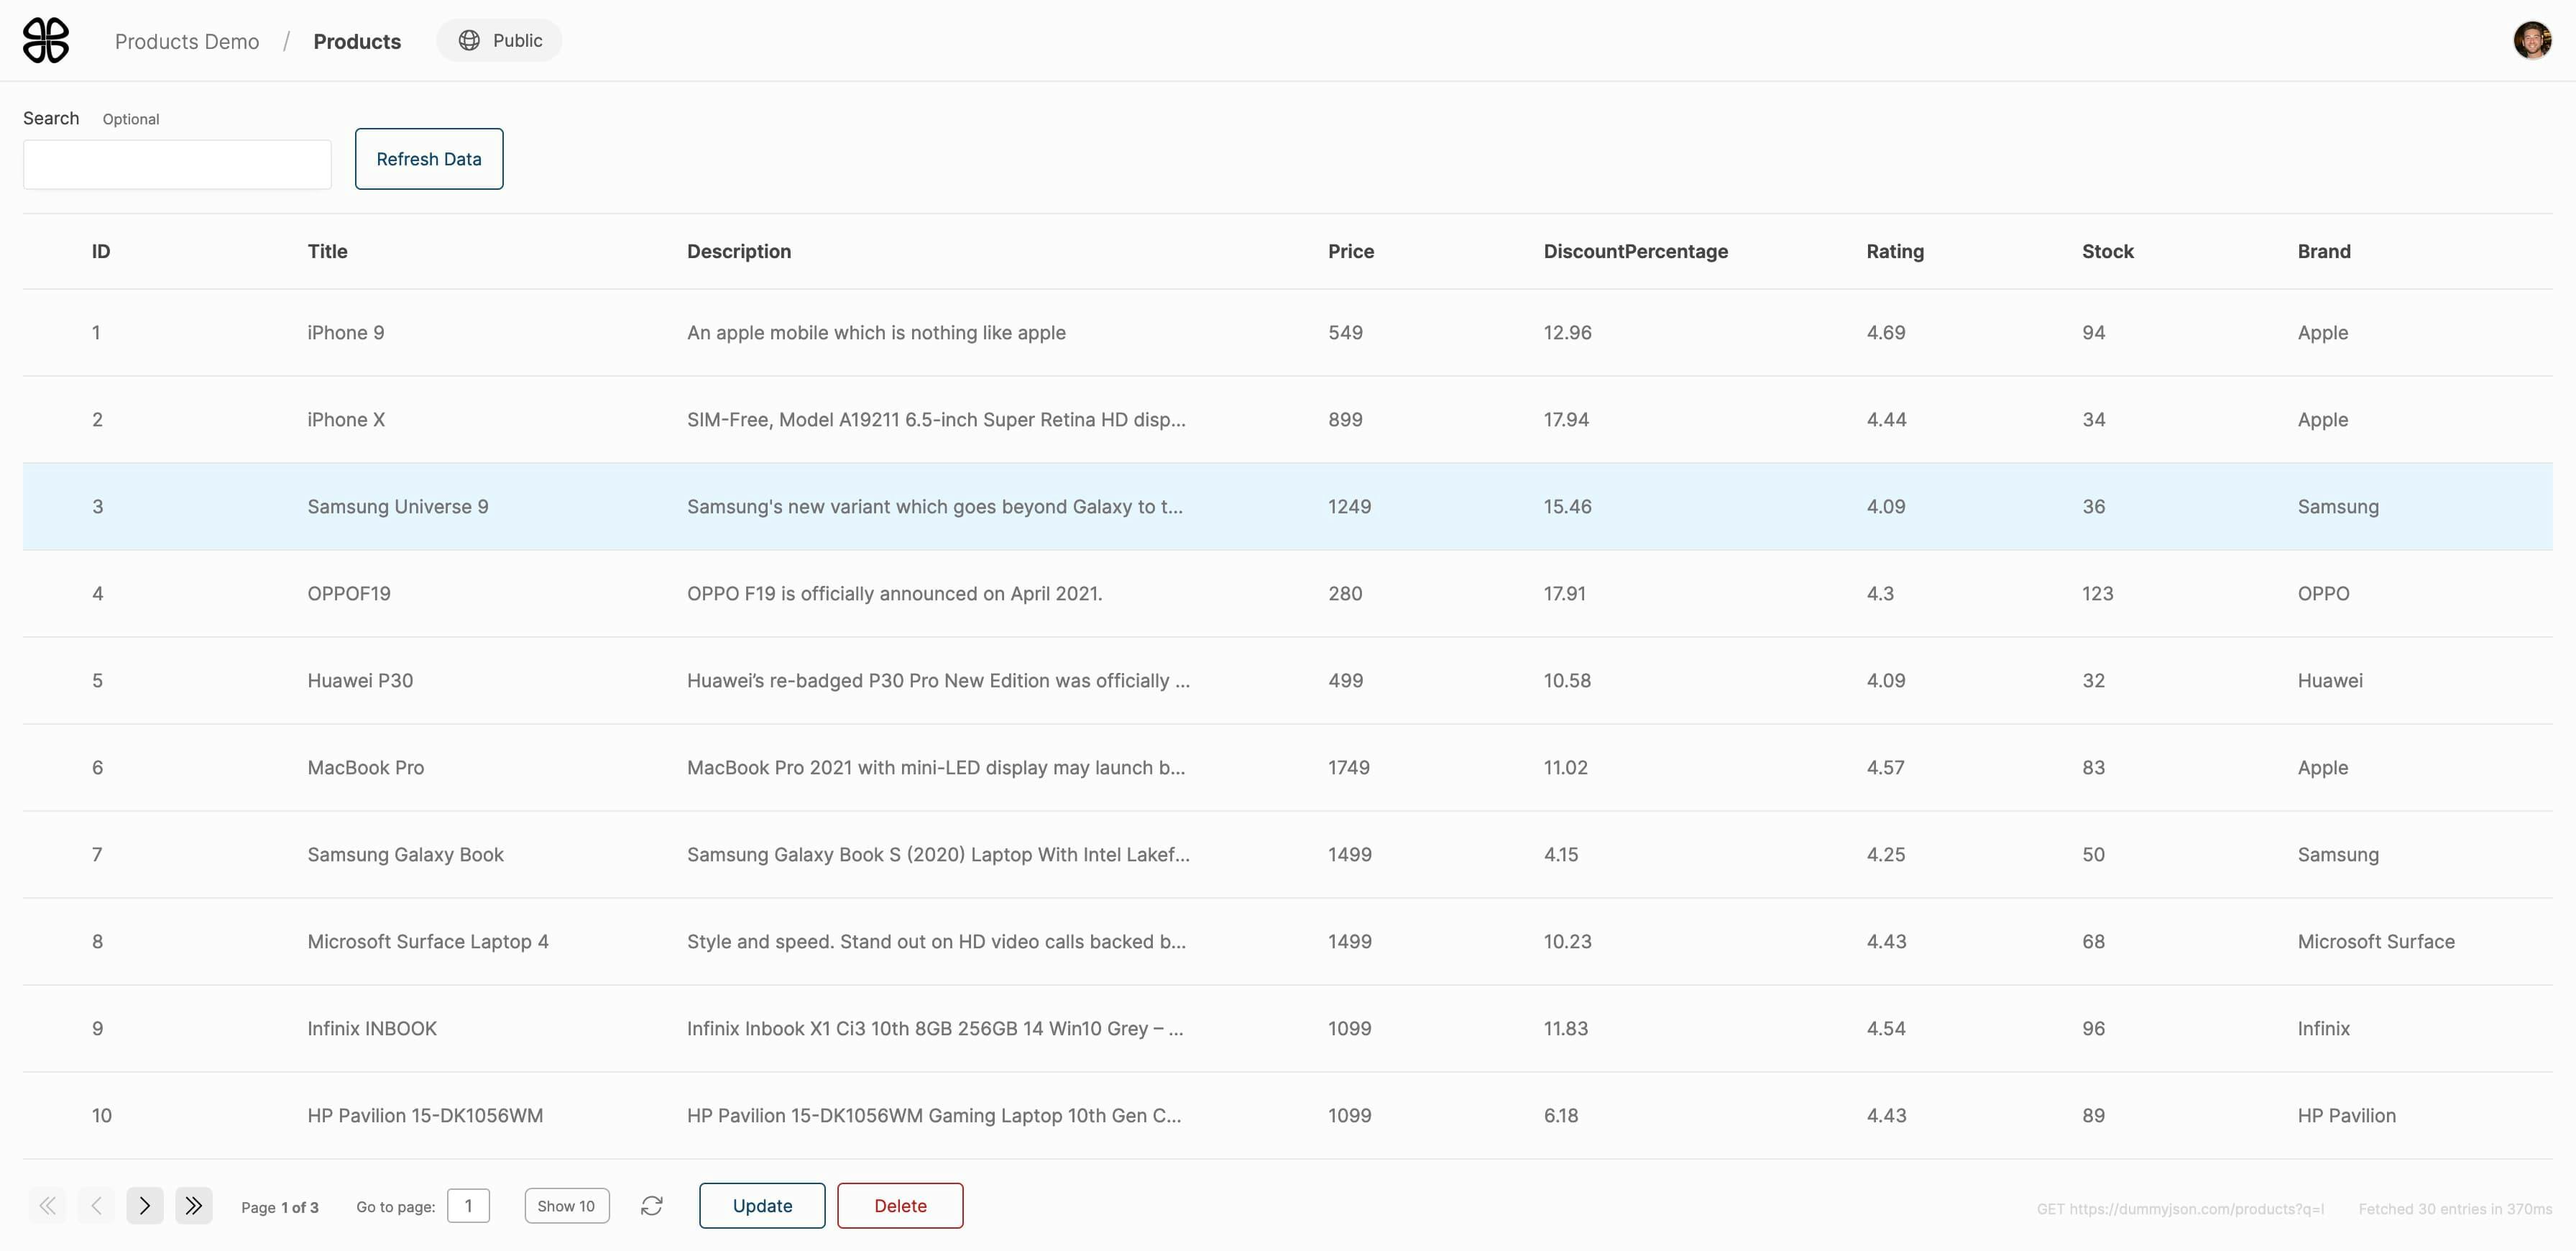
Outline your interface details and specify what your data model looks like. These fields will render on the table.
interweave.js
import { buildInterface } from "@interweave/interweave";

// Define the content of your interface
const config = {
  key: "names-interface",
  title: "Names",
  fields: {
    firstName: {
      schema: {
        type: "string"
      }
    }
  },
  requests: {
    create: {
      uri: "https://example.com/names",
      method: "POST"
    }
  }
};

// Send to Interweave
buildInterface(config, { id: INTERWEAVE_PROJECT_ID, token: INTERWEAVE_TOKEN });
Step 4: Send To Interweave
Use the Project ID and API token to send the interfaces to Interweave.
interweave.js
import { buildInterface } from "@interweave/interweave";

// Define the content of your interface
const config = {
  fields: {
    firstName: {
      schema: {
        type: "string"
      }
    }
  },
  requests: {
    create: {
      uri: "https://example.com/names",
      method: "POST"
    }
  }
};

// Send to Interweave
buildInterface(config, { id: INTERWEAVE_PROJECT_ID, token: INTERWEAVE_TOKEN });
Step 5: That's it! View your interface in the app: